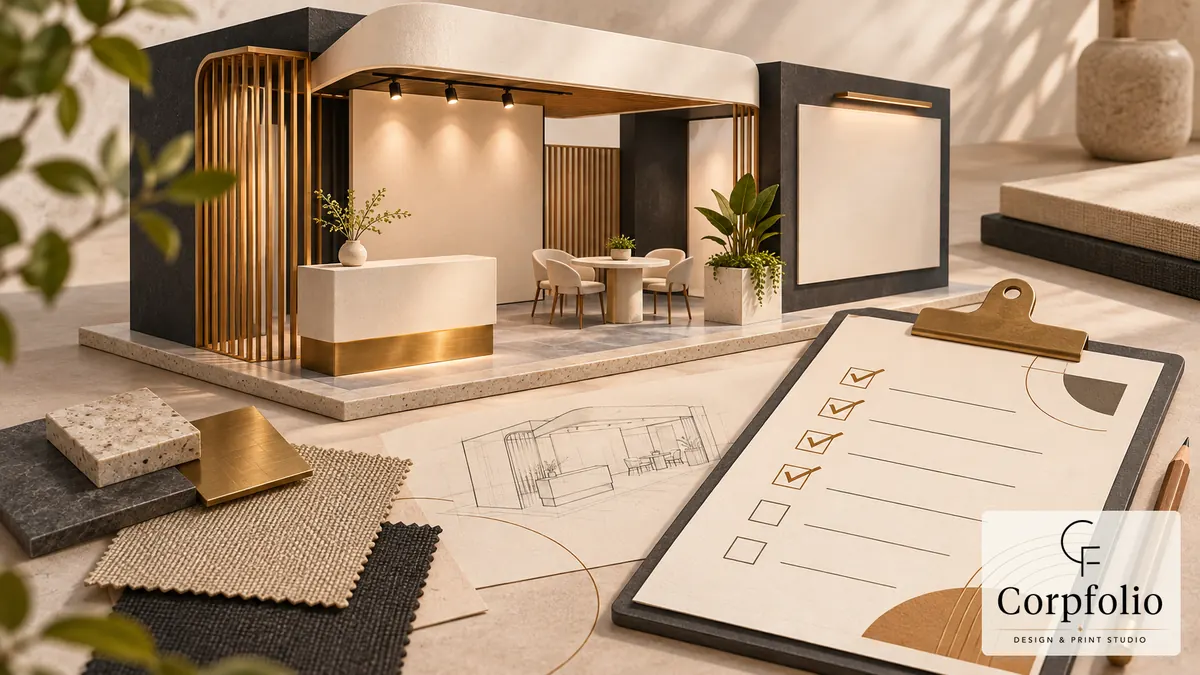
A trade show stall has a few seconds to make a passer-by stop. In a busy hall, the companies that win those seconds are rarely the ones with the biggest budget — they are the ones that planned the space, the message and the follow-up together. This checklist walks through what to decide, in order, when planning a stall for a trade show in Mumbai or anywhere else in India.
1. Set the goal before the design
Decide what a successful show looks like before you choose a layout. Are you launching a product, meeting distributors, collecting qualified leads, or simply being seen next to competitors? The goal decides how much open floor you need, whether you need a meeting area, and what the main graphic should say.
- One main goal, written down and shared with the team
- The number of meetings or leads you want to come back with
- Which products or services must be on display
- Who will staff the stall on each day
2. Read the exhibitor manual
Every show publishes an exhibitor manual with its own rules and deadlines. Mumbai's large venues, such as the Bombay Exhibition Centre in Goregaon and the Jio World Convention Centre in BKC, host many different organisers, and requirements vary from show to show. Check the manual early for:
- Deadlines for stall design submission, power and water requests, and badges
- Maximum build height and any limits on two-storey or hanging structures
- Fire-safety rules for materials, fabrics and electrical fittings
- Build-up and dismantling dates and times, and who may work on the floor
- Rules for sound, video and lighting levels
3. Choose shell scheme or raw space
A shell scheme is quick and predictable: the organiser supplies the walls, a fascia board with your name, basic lights and furniture. Your work is the graphics that go on the walls. Raw space gives you an empty floor and full freedom, but you need a stall designer, approved drawings and a fabrication contractor. Many first-time exhibitors start with a shell scheme and invest in printed graphics that make it look intentional.
4. Plan the layout for how people move
- Keep the front of the stall open — a table or counter across the front blocks visitors
- Put the most important graphic and product where people walk towards you, usually facing the main aisle
- Separate a quiet corner or meeting table for serious conversations
- Leave storage space for brochures, bags and personal items so the stall stays clean
- Check sightlines from both directions down the aisle
5. Write the graphics for the aisle, not the brochure
Visitors read a stall from several metres away and while walking. The main panel should answer one question in a few words: what you do and for whom. Keep detailed specifications for the conversation and the printed material.
- Company name and logo visible above head height, so they can be seen over crowds
- One headline that says what you do, readable from the aisle
- Large, high-quality images of real products, facilities or projects
- Minimal text on the walls — detail belongs on screens, samples and brochures
- Consistent colours and type with your company profile and website
Large-format graphics need high-resolution artwork prepared at the right size and in the format the printer or fabricator asks for. Confirm sizes, bleed and material with them before artwork is final.
6. Prepare printed and digital material
- A company profile or capability brochure for first contacts
- Product brochures or a short catalogue for qualified buyers
- Visiting cards for every staff member on the stand
- A QR code to download PDFs, so visitors do not need to carry everything
- A simple way to record leads — a form, an app or a notebook with a clear format
For what each document should contain, see company profile vs brochure vs catalogue.
Lighting, screens and power
Exhibition halls are often lit unevenly, and a stall that looked bright in the drawing can look flat on the day. Plan dedicated lighting for the main graphic and the product display, and check the colour of the light — warm and cool lamps change how printed colours and metal finishes appear. If you use screens, keep the content short and silent-friendly: a looping product video or a few slides that make sense without sound, because most visitors watch only a few seconds while walking past.
Request enough electrical load for every light, screen, charger and demo unit, and confirm socket positions on the stall drawing. Late power requests at a show are often expensive or impossible.
Where the budget goes
Stall budgets are usually spread across space rental, stall design and fabrication (or shell-scheme graphics), printed and digital material, logistics and shipping of products, staff travel, and lead follow-up. A common mistake is spending most of the budget on the structure and very little on the message and material that visitors actually take away. Graphics, a clear headline and good printed material are often the cheapest parts of the stall to improve, and the ones visitors remember.
If you exhibit regularly, design graphics and furniture that can be reused or adapted for several shows. Modular panels and a consistent visual system make each new event cheaper to prepare.
7. Plan the days of the show
- A staff rota so the stall is never empty or overcrowded
- A short, shared answer to "what does your company do?"
- Product samples or demos that are safe to handle
- Chargers, extension leads, tape, cleaning supplies and spare brochures
- A daily check that graphics, lights and screens are working
8. Follow up within a week
Most of the value of a trade show is decided after it closes. Sort leads by priority on the last evening, send a short personal follow-up within a few days, attach the right document for each contact, and book the next meetings while the conversation is still fresh.
Frequently asked questions
For a custom-built stall, start design two to three months before the show. Organisers often set deadlines for stall drawings, power requests and exhibitor badges several weeks ahead, and missing them can limit what you are allowed to build.
A shell scheme is a ready-made booth supplied by the organiser, with walls, a fascia name board, basic lighting and furniture. Raw space is bare floor; you design and build the whole stall, which allows more impact but needs approved drawings and a contractor.
The show organiser and the venue normally review stall drawings for height, structure, fire safety and electrical load. Rules differ by show and venue, so always follow the exhibitor manual for the specific event.
A company profile or capability brochure for new contacts, product-specific brochures or a short catalogue for serious buyers, and visiting cards — plus a way to share PDFs by QR code so visitors do not have to carry everything.
We design stalls and print material as one system.
Corpfolio plans exhibition graphics, environmental design and the printed material that goes with them. See our exhibition and environmental design service, or contact the studio.